Get Ready for Winter!
As the chilly winds swirl around Ashland, VA, it’s time to think about how to keep your home warm and cozy this winter. One of the most important things on your to-do list should be winterizing your plumbing. While it might not sound like the most exciting task, taking a few simple steps can help you avoid some big headaches later on!
Why Winterizing Matters
When temperatures drop, water in your pipes can freeze, expand, and cause some serious damage. Imagine waking up one frosty morning only to find water gushing from a burst pipe! That’s a nightmare no one wants to deal with. By winterizing your plumbing now, you can protect your home from these winter woes and ensure everything continues to run smoothly as the temperature plummets.
In this handy guide, we’ll walk you through each step to help you get your plumbing ready for the winter months. So grab a warm cup of cocoa, and let’s dive in to make sure your home is well-prepared for whatever winter throws your way!
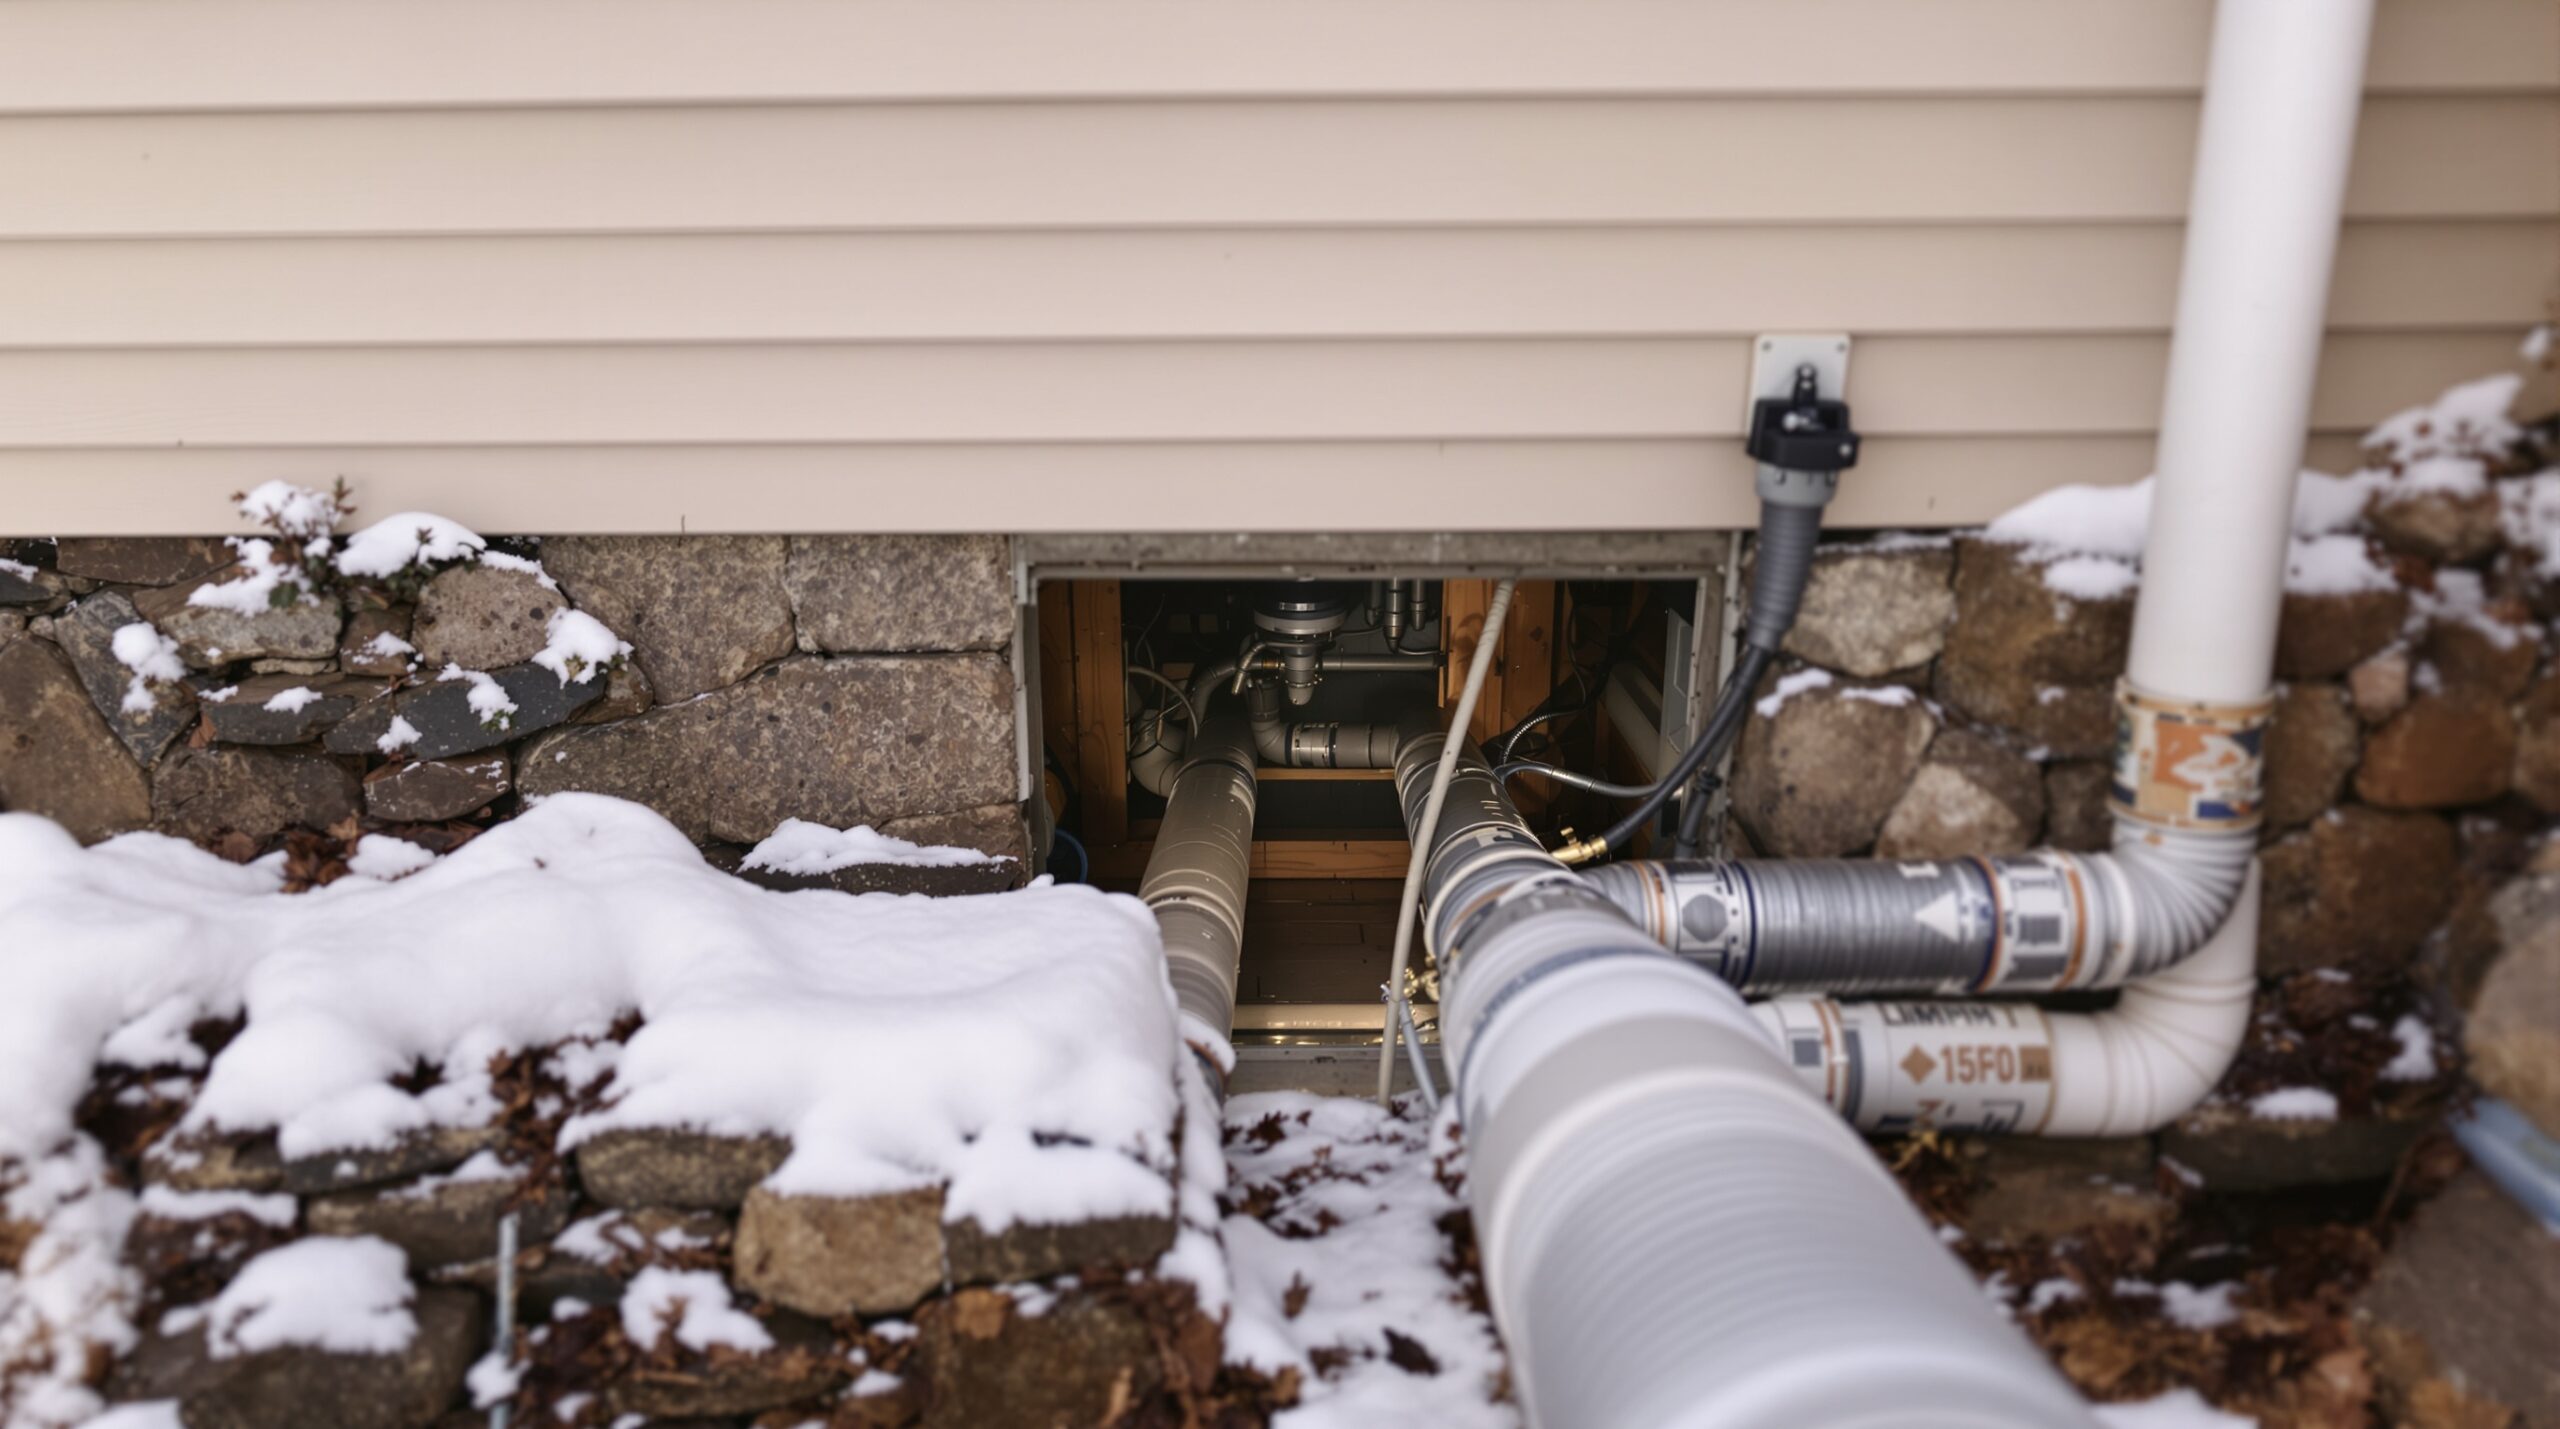
Insulate Exposed Pipes
One of the most crucial tasks in your winterizing checklist is to insulate exposed pipes. Many homeowners overlook this step, but it can mean the difference between a worry-free winter and a plumbing disaster. Pipes lying in cool, unheated spaces like garages, crawl spaces, and basements are particularly vulnerable to freezing temperatures. When these pipes freeze, the water inside expands, leading to a buildup of pressure that can crack or burst the pipe itself—a costly and messy situation.
Insulating your pipes is an effective way to prevent the devastating consequences of frozen plumbing. But why exactly is pipe insulation so vital? Let’s delve into the benefits:
- Prevention of Freezing: By adding insulation, you create a protective barrier around cold pipes that helps them maintain a higher temperature, reducing the likelihood of freezing during particularly frigid nights.
- Energy Efficiency: Insulated pipes can aid in keeping hot water hot as it travels from your heater to your faucets, which enhances the efficiency of your heating system and can even lower energy consumption.
- Condensation Control: Insulation also helps to prevent condensation from forming on pipes, a situation that can lead to mold growth and water damage if left unchecked.
Now that you’ve grasped the importance of insulating your pipes, let’s take a look at the steps involved:
| Step | Description |
|---|---|
| 1. Identify Exposed Pipes | Walk through your home and locate all exposed pipes, paying special attention to those in unheated areas like garages, attics, and crawl spaces. |
| 2. Choose Insulation Material | Select the appropriate insulation material, such as foam pipe insulation sleeves or fiberglass insulation, based on your piping type and location. |
| 3. Measure and Cut | Measure the lengths of pipe you need to insulate, and cut your insulation material accordingly to ensure a snug fit. |
| 4. Apply the Insulation | Carefully wrap the insulation around the pipes, securing it in place with tape or zip ties to prevent it from slipping off. |
| 5. Check for Gaps | Examine your work for any exposed areas; make sure to cover all sections to maximize protection. |
By following these steps, you can put your mind at ease knowing that your pipes are protected against the winter chill. Insulating is a simple task that will pay off in the long run, enabling your plumbing system to thrive throughout the frostiest months. With a warm heart and a proactive mindset, you’re now one step closer to winterizing your home effectively!
Drain Outdoor Faucets
As you continue to tackle your winterization checklist, it’s time to focus on a critical aspect that often gets sidelined: draining outdoor faucets. Neglecting this task can lead to frozen water trapped inside the taps and hoses, which, when temperatures plummet, can cause serious damage. The last thing any homeowner wants is the chaos of broken pipes in the middle of winter. So, let’s break down the simple yet essential steps you need to take to properly disconnect hoses and drain outdoor faucets, ensuring peace of mind when the cold weather hits.
With a few straightforward actions, you can protect your landscaping investment and avoid the headache of plumbing repairs. Let’s walk through the process:
- Disconnect Hoses: Begin by turning off the water supply to the outdoor faucet. This is usually done at the shut-off valve located inside your home. Once the water is turned off, go outside and carefully detach any hoses or attachments from the faucet. Ensure that you drain the hoses as well, as any residual water can freeze and expand, leading to ruptured hoses or faucets.
- Drain the Faucet: Open the outdoor faucet to allow any remaining water to escape. This step is crucial; even a small amount of water left inside can freeze and cause significant damage. Allow the faucet to remain open for a while to ensure it’s completely drained.
- Use an Air Blower (Optional): For an added layer of protection, consider using a compressor or air blower to force out any residual water still trapped in the faucet. Insert the blower into the spout and carefully blow air through the lines. This extra effort ensures that no water is left to freeze.
- Seal and Store Hoses: Once your hoses are fully drained, roll them up neatly and store them indoors. Keeping hoses inside your home prevents any risk of them freezing and cracking during harsh winters. Additionally, it prolongs their lifespan and keeps them in good condition.
- Check for Leaks: Before sealing everything up, take a moment to inspect your outdoor faucets for any signs of leaks or damage. Any leaks can lead to freezing problems and should be addressed promptly, whether that means tightening connections or replacing faulty parts.
Following these steps will ensure your outdoor plumbing is well-prepared for winter’s chill. By properly disconnecting hoses and draining outdoor faucets, you’ll protect your home from potentially expensive plumbing disasters. Now that you’re equipped with the right knowledge, you can confidently add this task to your winterizing checklist and move forward with completing your home’s seasonal preparations!
Maintain Indoor Plumbing
With your outdoor faucets snug and secure, it’s time to turn your attention indoors. Maintaining your indoor plumbing during the colder months is just as crucial to avoid the potential for frozen pipes and the accompanying turmoil that ensues from plumbing mishaps. Fortunately, there are proactive steps you can take to keep your plumbing systems running smoothly throughout wintertime.
One of the key practices in keeping your indoor plumbing healthy is ensuring that your home stays adequately warm. Here are some effective strategies:
- Set Your Thermostat Wisely: A well-regulated temperature can make a world of difference in preventing frozen pipes. Aim to keep your thermostat set at no lower than 55°F (around 13°C), even if you plan to be away from home for an extended period. Consistency is key; maintaining a steady temperature reduces the risk of drastic fluctuations that can lead to ice forming inside your pipes.
- Open Cabinet Doors: Often overlooked, the space around your sinks, especially those located against exterior walls, can become a cold trap. Open the cabinet doors beneath your sinks to allow the warm air from your home to circulate freely around the plumbing. This small act can prevent the water within those pipes from reaching freezing temperatures. If you face particularly harsh conditions, consider leaving a small light on inside the cabinet to provide extra warmth.
- Let Faucets Drip: During extreme cold spells, a gentle drip from faucets connected to pipes that run through unheated areas can serve as a preventative measure. The constant movement of water will make it less likely to freeze. This practice, however, should be reserved for the coldest of nights when temperatures dip significantly.
- Insulate Pipes: For an added layer of defense, examine your plumbing system for pipes that may be uninsulated or poorly insulated, particularly those running through attics, basements, or crawl spaces. Insulating these pipes can be as simple as wrapping them in foam or using heat tape. This preventive measure helps maintain a higher temperature as the cold weather tries to seep in.
- Keep the Garage Warm: If your home has plumbing running through the garage, it’s essential to keep the garage slightly heated. An unheated garage can quickly turn into a freezing space that jeopardizes pipe integrity. If you don’t have a heating source, consider using space heaters safely when needed, especially during particularly frigid nights.
By implementing these straightforward practices, you can safeguard your indoor plumbing against the harsh realities of winter. The peace of mind that comes from knowing your plumbing is prepared for the cold will allow you to focus on what truly matters about the season—spending quality time with friends and family, cozy nights by the fire, and the holiday festivities. So take a moment to embrace this checklist, and shortly, you’ll be ready to glide into winter with a little less worry and a lot more warmth!
Test Your Sump Pump
As the leaves begin to change color and a crisp breeze begins to sweep across the landscape, it’s imperative to turn your attention to one often-overlooked aspect of home maintenance: your sump pump. This under-the-radar hero plays a critical role in safeguarding your basement from potential flooding, particularly as winter approaches. A functioning sump pump can mean the difference between a dry, welcoming space and a damp, moldy disaster.
Regular testing and maintenance of your sump pump are essential to prevent unwanted water accumulation when temperatures drop and precipitation increases. Here’s why it’s vital to ensure your sump pump is in peak condition before winter sets in:
- Prevent Basement Flooding: Heavy winter rains and melting snow can lead to significant water accumulation around your home’s foundation. A reliable sump pump acts as a safeguard, automatically pumping out any excess water that threatens to seep into your basement. Testing it now ensures that you have a dependable line of defense come winter.
- Combat Humidity and Mold: High moisture levels can give rise to an ideal environment for mold and mildew. If your sump pump fails during the colder months, your basement could turn into a breeding ground for these unwelcome guests, leading not only to potential structural issues but also health hazards.
- Increase Longevity: Just as with any mechanical device, regular maintenance can extend the life of your sump pump. Simple tasks such as clearing out the pump basin or ensuring the discharge line is free of blockages can prevent costly repairs or premature replacement down the line.
- Peace of Mind: The last thing you want to worry about while cozying up with loved ones indoors is potential basement flooding. Testing your sump pump not only empowers you with peace of mind but also allows you to enjoy the winter season without anxiety about your home’s vulnerability to water damage.
How to Test Your Sump Pump:
- Step 1: Locate the sump pump in your basement—typically found in a sump pit.
- Step 2: Fill the sump pit with water until the pump is activated. Ensure it powers on and promptly removes the water.
- Step 3: Inspect the discharge line to confirm water is flowing freely and that there are no ice obstructions or blockages.
- Step 4: Listen for any unusual noises during operation. Consistent humming or grinding sounds can signal malfunction.
Below is a simple checklist to guide you through maintaining and testing your sump pump’s efficiency:
| Task | Frequency |
|---|---|
| Inspect the sump pump for any rust, cracks, or corrosion | Annually |
| Test the pump’s operation by adding water | Every six months |
| Clean the sump pit and remove debris | Annually |
| Check the discharge line for obstructions | Before winter |
By prioritizing the testing and maintenance of your sump pump before the winter weather arrives, you equip yourself with a proactive strategy to keep your basement and home protected. Make the effort to ensure this often-unnoticed appliance is up to snuff, and you’ll be rewarded with a dry, welcoming sanctuary throughout the season! So, don’t let your basement become a victim of winter’s wrath; invest time in your sump pump and ensure that it stands ready when you need it most.
Prepare for Emergencies
While testing your sump pump is a critical step in winter preparedness, it’s equally essential to arm yourself with knowledge and resources that could mean the difference between a minor inconvenience and a major disaster. This is where having a dependable plumber’s contact information and understanding how to shut off your water supply come into play. Emergencies can strike unexpectedly, often leaving little time for action. As such, being prepared can significantly minimize potential damage and stress.
The Importance of Keeping a Professional Plumber’s Contact Info Handy
Imagine waking up to a gushing pipe or a malfunctioning sump pump—panic sets in as you scramble to find help. Having the contact number of a trusted plumber readily available can save you valuable time and prevent further water damage. During an emergency, every second counts, and the last thing you want is to frantically search the internet or sift through your phone contacts, only to discover that your go-to plumber is unavailable. Taking a proactive approach by establishing a relationship with a local plumbing professional not only ensures service in times of need but can also help you avoid costly mistakes during your moment of crisis.
Know How to Shut Off Your Water Supply
In the event of a plumbing emergency, knowing how to quickly and effectively shut off your home’s water supply is vital. This fundamental skill can dramatically limit the extent of water damage while you await professional assistance. Familiarize yourself with the main shut-off valve location—whether it’s in your basement, crawl space, or near the water meter—and practice turning it off. It’s often prudent to test the valve’s operation periodically, ensuring it can be easily accessed and functionally intact when you need it most.
Beyond understanding where the shut-off valve is located, communicate this information with all the members of your household. Family members, including older children, should know how to turn off the water supply to empower them to take action during an emergency. Consider placing a reminder note near the valve, reinforcing its location and the procedure to shut it off, just in case. This shared knowledge fosters a sense of preparedness and teamwork, equipping your household to handle unforeseen situations with confidence.
Your Emergency Response Checklist
- Collect essential contacts: Write down your plumber’s phone number, along with emergency numbers for utilities and your insurance company.
- Locate your shut-off valve: Know where it is and ensure it’s functioning correctly.
- Communicate with your family: Make sure everyone knows the location of the shut-off valve and the steps to take in an emergency.
- Keep an emergency kit: Stock a kit with flashlights, batteries, and essential supplies, making it easier to manage the situation should disaster strike.
By investing time in creating this preparedness plan, you significantly enhance not just your home’s resilience against potential emergencies but also your family’s peace of mind. After all, a well-prepared home is a safe haven, ready to weather the storms of winter without hesitation.
Common Concerns Addressed
As winter settles in and temperatures plummet, homeowners invariably face certain challenges. Two common concerns that arise during this chilling season are “What should I do if my pipes freeze?” and “How often should I check my sump pump?” Addressing these questions is crucial for maintaining a secure and functional home during the colder months.
What Should I Do If My Pipes Freeze?
If you suspect your pipes have frozen, don’t panic! Acting swiftly can often mitigate extensive damage. First, locate the frozen pipe, which is typically found in unheated areas like basements, attics, or outside walls. Once identified, take the following steps:
- Turn off your water supply: This will prevent any potential flooding once the ice melts and resumes flow.
- Apply heat safely: Use a hairdryer, heating pad, or space heater to gently warm the pipe. Avoid open flames or excessive heat, as these can lead to further damage.
- Open faucet valves: As you apply heat, leave the faucet connected to the frozen pipe open. This allows water to flow through once it begins to thaw, reducing pressure and the risk of bursting.
- Check for leaks: Once the pipe has thawed, inspect it thoroughly for any cracks or leaks, and take prompt action to repair any damage.
If you’re unable to locate or access the frozen pipe, or if you suspect a significant issue, don’t hesitate to reach out to your trusted plumber for assistance. They can quickly diagnose and resolve any complex problems that may arise.
How Often Should I Check My Sump Pump?
Your sump pump is a vital component of your home’s defense against flooding, particularly during winter storms or melting snow. Regular maintenance checks can help ensure it’s functioning optimally. Here’s a simple guideline:
- Monthly:\*\* Make it a habit to test your sump pump once a month. Pour a bucket of water into the sump pit to see if the pump activates. It should turn on and pump the water out effectively.
- Pre-Season Check: Before winter begins, inspect the pump’s power cord, float, and discharge pipe for any obstructions or damage. Ensure that the sump pit is clear of debris.
- Annual Professional Inspection: Schedule a yearly check-up with a plumber to assess your sump pump, especially if you live in high-water risk areas. This professional evaluation can uncover any hidden issues.
By staying proactive with your sump pump maintenance, you not only extend its lifespan but also secure peace of mind, knowing that your home is protected against potential water intrusions. A little routine vigilance can make a significant difference in preventing a crisis during winter.
In conclusion, addressing these common concerns equips Ashland, VA, residents with essential tools for tackling winter effectively. By understanding how to react when pipes freeze and by keeping a regular schedule for sump pump checks, homeowners can enjoy a worry-free winter. Remember, preparedness is key to minimizing stress and safeguarding your home or business during this chilly season.
Embrace a Worry-Free Winter
With winter just around the corner, Ashland, VA, residents have ample opportunity to bask in the spirit of the season, provided they take the necessary steps to ensure their homes and businesses are fully prepared. The preventative measures discussed above serve not just as a safeguard against calamity but also as a pathway to a peaceful winter experience. By proactively addressing potential vulnerabilities, you can transform your home into a fortress against nature’s unpredictable moods.
Preparedness: Your Best Ally Against Winter Woes
The essence of preparedness lies in the reassurance it brings. As you tuck into your cozy evenings, knowing that your home is well-equipped to handle the elements, you create a tranquil environment for yourself and your loved ones. No longer will you dread the forecast of frozen rain or heavy snow; instead, you can relish the beauty of winter’s canvas, appreciating the crisp air and the serene landscape.
Moreover, taking these proactive steps not only protects your physical space but also greatly contributes to your mental well-being. Families and business owners alike can enjoy a worry-free winter when they feel secure in their surroundings. Keep in mind that a small effort today can lead to significant peace of mind tomorrow. By executing routine maintenance, maintaining emergency contacts, and ensuring your family knows how to respond to potential crises, you cultivate an atmosphere of resilience.
Benefits of Protecting Your Home or Business
A well-prepared home or business is a bastion against not just winter weather, but a variety of challenges that could arise at any moment. In protecting your space, you’re also safeguarding your investments—both emotional and material. By reinforcing these boundaries, you ensure that each winter day can be cherished rather than plagued by the anxiety of impending disasters.
Furthermore, having measures in place fosters a sense of community as well. Neighbors share tips, form support networks, and look out for one another, enhancing the safety of the entire community. Imagine the camaraderie as everyone gathers to assist each other, from clearing driveways to sharing resources—this spirit of cooperation transforms winter into an enriching experience rather than a season of solitude and worry.
As Ashland residents, you have everything to gain from taking a proactive approach to winter preparedness. Engage in the simple, actionable steps outlined in this article, and embrace the season with renewed confidence. By turning your focus from the unpredictability of winter’s challenges to the security of your home, you empower not just yourself but also those around you. So go ahead—enjoy the winter wonderland that surrounds you, free from worry.